Toontrack’s popular EZdrummer line of drum software is well-known for its ease of use, expandability, and great sounds with minimal effort. Many people use EZdrummer in a variety of ways and occasionally those needs require different hardware to accomplish what the user is after.
If you’re not familiar with audio production setups in general, this may be a bit confusing at first, but once you have a few basics down you should be able to pick out the right audio interface for whatever you’re trying to do.
Contents
What audio interfaces work with EZdrummer?
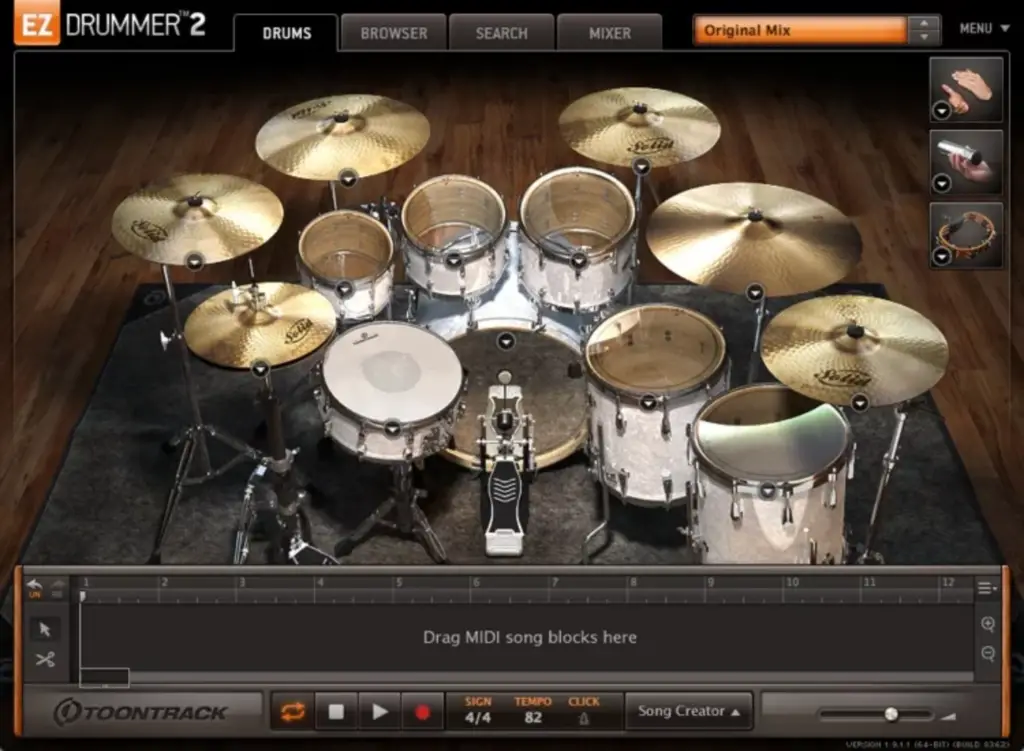
Almost all audio interfaces are compatible with the EZdrummer software (EZdrummer, EZdrummer 2, and even Superior Drummer) in terms of playing back what the plugin outputs. In other words, if you’re using EZdrummer in a DAW or to play back MIDI files, there shouldn’t be a single modern audio device out there that can’t output the audio.
Essentially, if this is as far as your needs go, you have your pick of the audio interface world to choose from. You can even use them with audio interfaces on M1 Macs without issue now Toontrack updated their drum plugins for the new platform.
But you can use EZdrummer either in a DAW (digital audio workstation) such as ProTools, Logic Pro, or Reaper or on its own as a standalone application. Usually, in this instance, it’s being triggered by an external piece of equipment such as electronic drums or a MIDI controller.
Programming drums in a DAW with EZdrummer
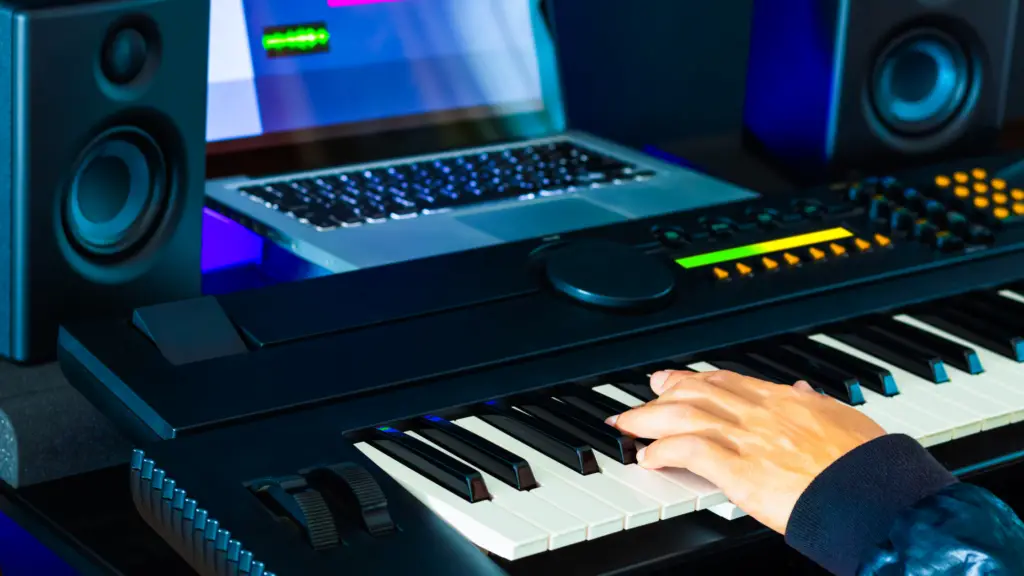
The most common use of EZ Drummer 2 is as a VST plugin that resides in your DAW (digital audio workstation) software such as which means that as long as your setup can output the rest of the audio from your DAW, EZdrummer just operates as another virtual instrument.
Most home recordists typically program out their drum parts by hand on the piano roll of their DAW or play the parts on a MIDI controller like a MIDI keyboard.
If you program your drums in the DAW by hand, you don’t need any extra hardware or special connections. Whatever audio interface you have now is fine for programming your MIDI track.
When using a MIDI controller, you can either get a controller that connects to your computer via USB (most common these days) or get a controller with a dedicated MIDI output.
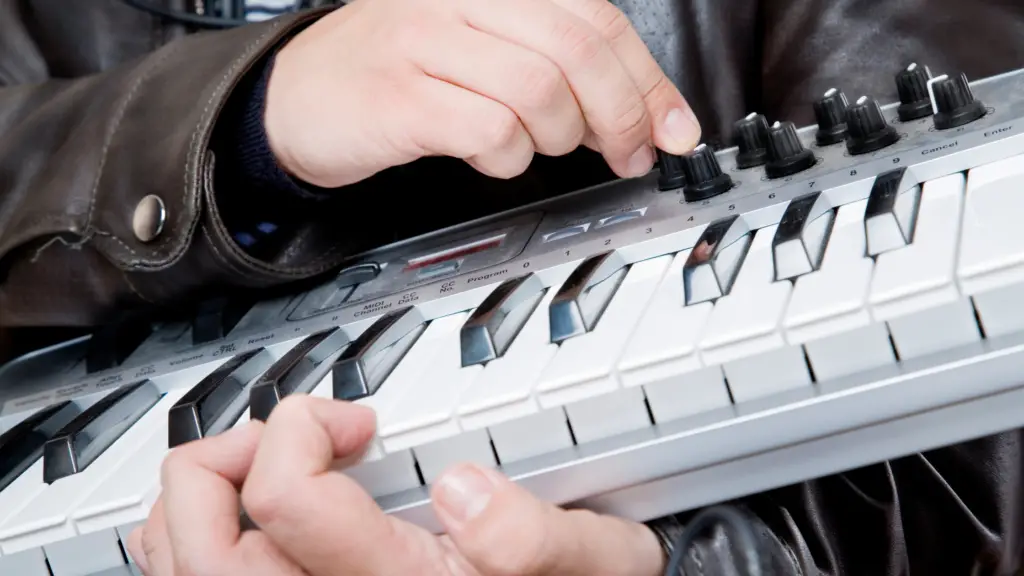
As USB MIDI controllers connect to your computer, they are not reliant on the external audio interface to get the MIDI info into your DAW–it goes through the USB connection, of course.
For older equipment, there may not be a USB port. Or you may need to chain devices together perhaps. For this, you can use the five-pin MIDI connection to output the data from the MIDI device to the computer via the audio interface.
There used to be a time when all reasonable audio interfaces had MIDI in and outs, but that’s not so common these days. If you need a MIDI input, you’ll have to be sure to find an audio device that has these inputs to connect your MIDI device if you want to use it at all.
There are still plenty of audio interfaces that have MIDI inputs, but you’ll just have to look a bit harder. An example of a great budget choice here would be the Behringer UMC204HD, which has MIDI in/out.
Be careful, however. While the UMC204HD has MIDI capabilities, its near-identical companion–the UMC202HD–lacks this feature.
The bigger siblings–the UMC404HD and UMC1820–also have MIDI in/out, and the UMC404HD is one of our absolute favorite budget audio interfaces for live streaming as well.
USB vs MIDI connections for EZdrummer?
In the past, we may have advised skipping USB MIDI devices and going straight for the typical 5-pin DIN MIDI connector. But with computers as powerful as they are now the latency worries with USB just aren’t there anymore.
That said, there isn’t too much of a difference between the two. Sure, 5-pin MIDI has been around since the ’80s and is great for working with sequencers and workstations. It offers a much-reduced bandwidth and speed compared to USB, but MIDI USB traffic also may take up bandwidth that would impact what’s being used by the actual audio interface.
MIDI synchronization is also an issue–especially when you start stacking equipment or are working with older or more unreliable gear. USB MIDI will usually avoid sync issues.
All of these are actually pretty small issues, and none of them are really show-stopping. If you ask 50 audio engineers about their preference between the two, you’d get 50 different answers.
In short, EZdrummer isn’t going to be terribly picky about how you connect your MIDI device–only whether it can reliably communicate with the module. But it will dictate a small bit of the software setup.
How to trigger EZdrummer 2 with electronic drums
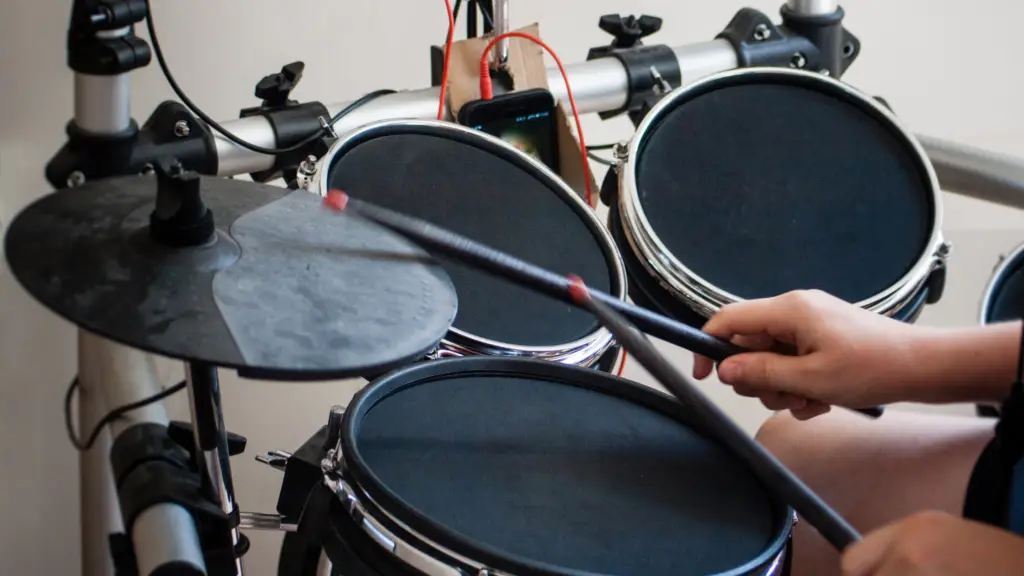
Whether using EZdrummer in standalone or as a DAW plugin, you’ll need to set up the MIDI device to be recognized by EZdrummer. This requires a bit of configuration to get going.
- First, install any prerequisite drivers for either your audio interface or electronic drums (or MIDI controller). If your device states it’s not necessary to do so, skip this portion.
- For use in a DAW, open your DAW’s MIDI Settings menu, find either your drum module in the list of devices (if connected via USB) or your interface’s MIDI ports (if connected to your interface via MIDI), and enable both the MIDI in and out connections.
- In the standalone EZdrummer app, you can go to Settings > Audio/MIDI Setup > Device to find your drum module (or audio interface MIDI). Click Apply, then click MIDI Channel and set input channel to Any, unless you’re using a keyboard or any other MIDI controller with EZdrummer.
- Set the MIDI mapping preset that matches your particular electronic drums. Toontrack has provided presets for most electronic drums on the market and will ensure that your drumset’s layout is mapped to the software accurately. You can find this by clicking the EZdrummer menu > Settings > E-drums and then choosing your drum model. Select Generic if your drums aren’t listed.
Recording drum tracks with EZDrummer and electronic drums

Once EZdrummer is set up to see your drums, you could then record the triggered output of EZdrummer into your DAW. This is easiest when using as a plugin within a DAW, but could also be done with the standalone application by changing the output device in the EZdrummer Settings > Audio/MIDI Setup screen.
We’d suggest doing this within the DAW, however, as it’s easier to route audio output using the DAW routing instead of from one program to another. While you can record the drum sounds on their own from the standalone app with the built-in Record button if that’s all you need, dropping drums in a full recording project is easier when used as a plugin along the rest of your instruments.
EZdrummer functions as a virtual instrument within a DAW, and usually it’s as simple as loading the plugin into a single track, arming the track to enable record, and then recording as normal from your DAW controls.
Final thoughts
EZdrummer is one of the top virtual drum plugins on the market, and as such is used across almost every type of audio interface out there. We’ve had excellent results with it across all sorts of studio setups on PC and Mac and are glad to report that you’ll get the same great drum sound out of any interface it’s running through. Or at least as good as that interface can do itself.


